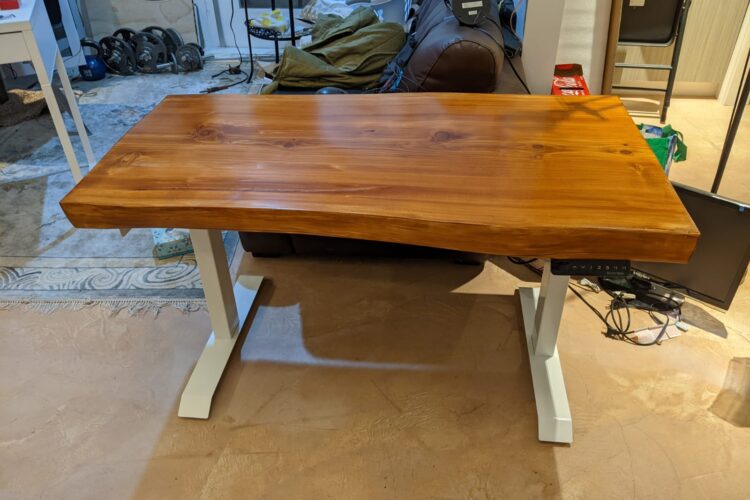
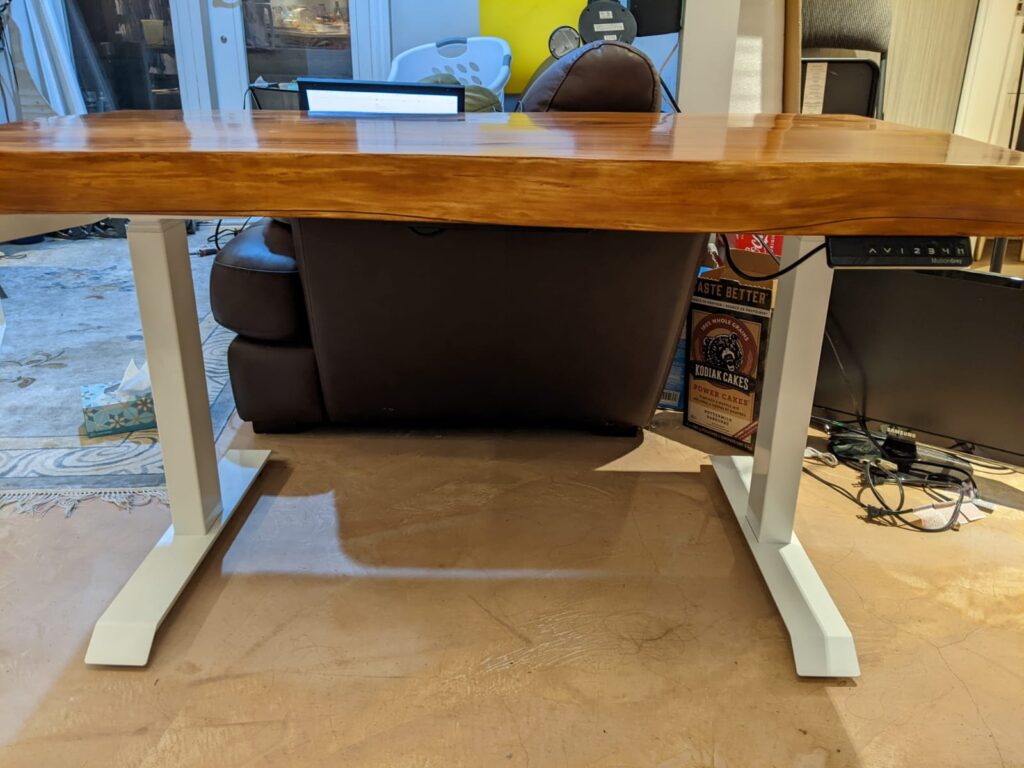
The pandemic inspired us to finally get a proper standing desk.
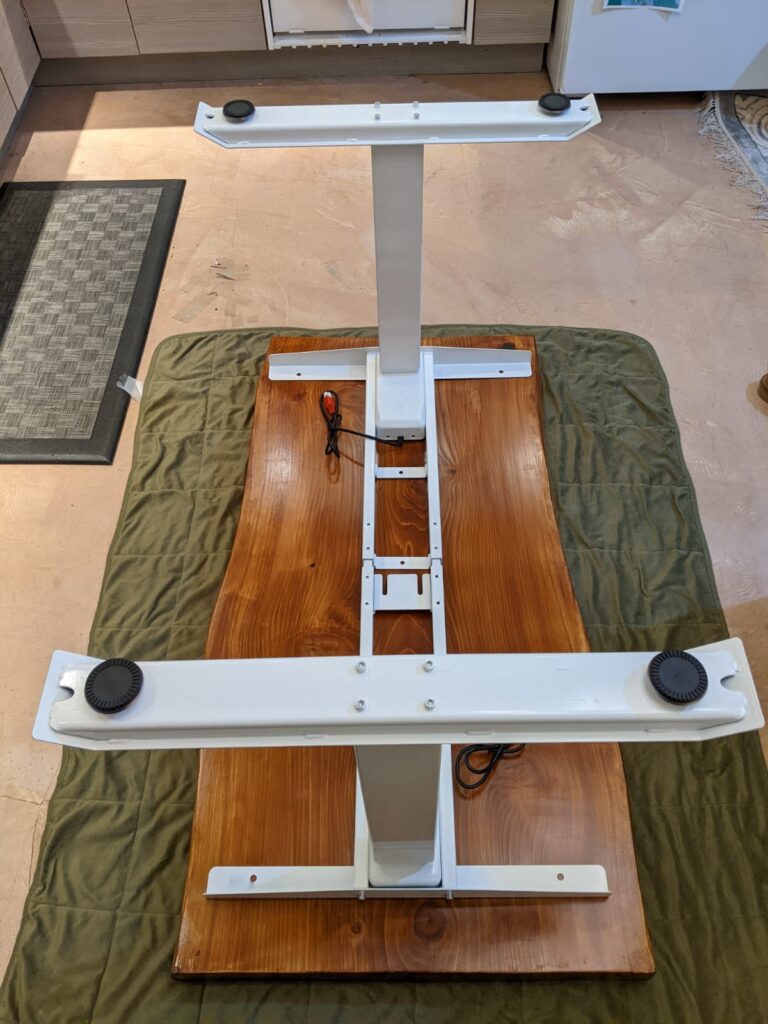
The base is from Best Buy – MotionGrey Height Adjustable Electric Dual Motors. We did some research into dual vs single motor and different heights (this had the greatest range) and four memory settings.
After watching many Youtube videos on making Live Edge tables we decided to go ahead with our project.
We looked everywhere for a reasonable priced peice of live edge included lumbar stores and homedepot etc. Ultiimately, for the price and size of wood we needed we ended up using Marketplace/Craiglist.
Supplies
- Electrical (orbital) sander and sand paper (found for $12 used!)
- painters tape
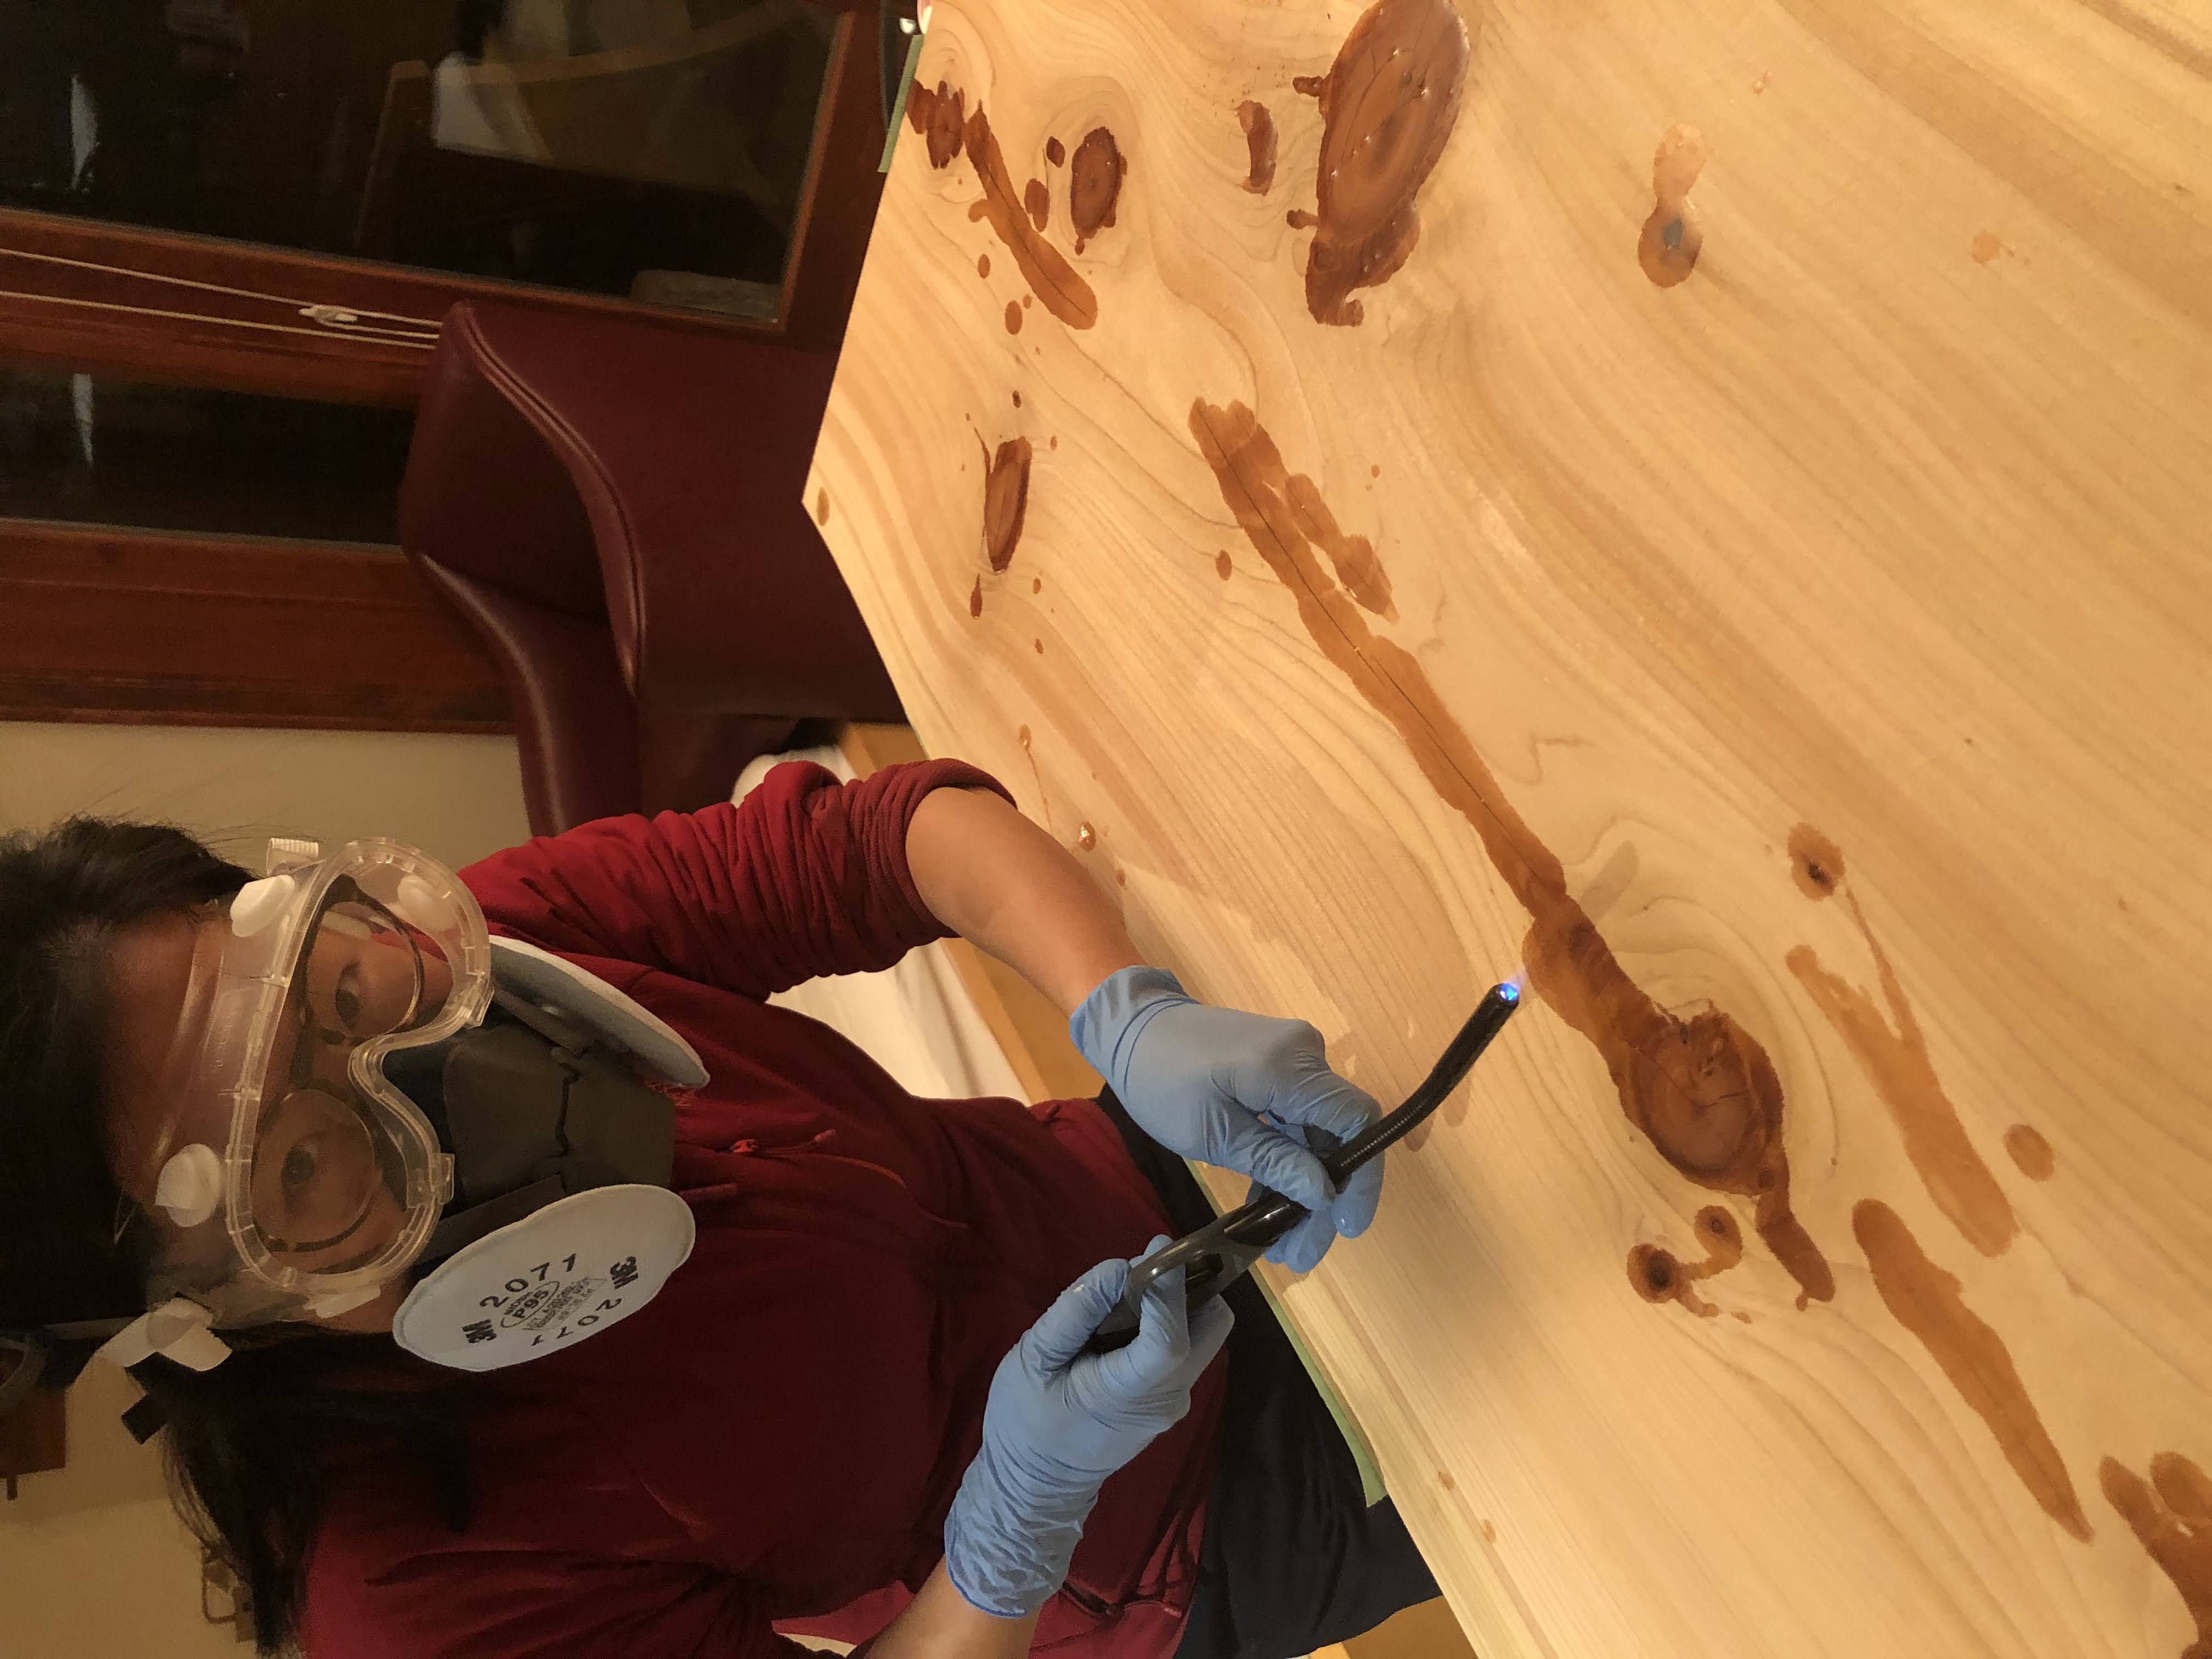
- Resin (http://shorturl.at/epFQS)
- Blow torch or lighter to pop the resin bubles
- Lots of cups to mix the resin with (plastic or paper will do fine)
- Popsicle sticks to stir the resin
- Syringe and needles to fill the cracks or holes in the wood (optional)
- Brown resin dye (optional)
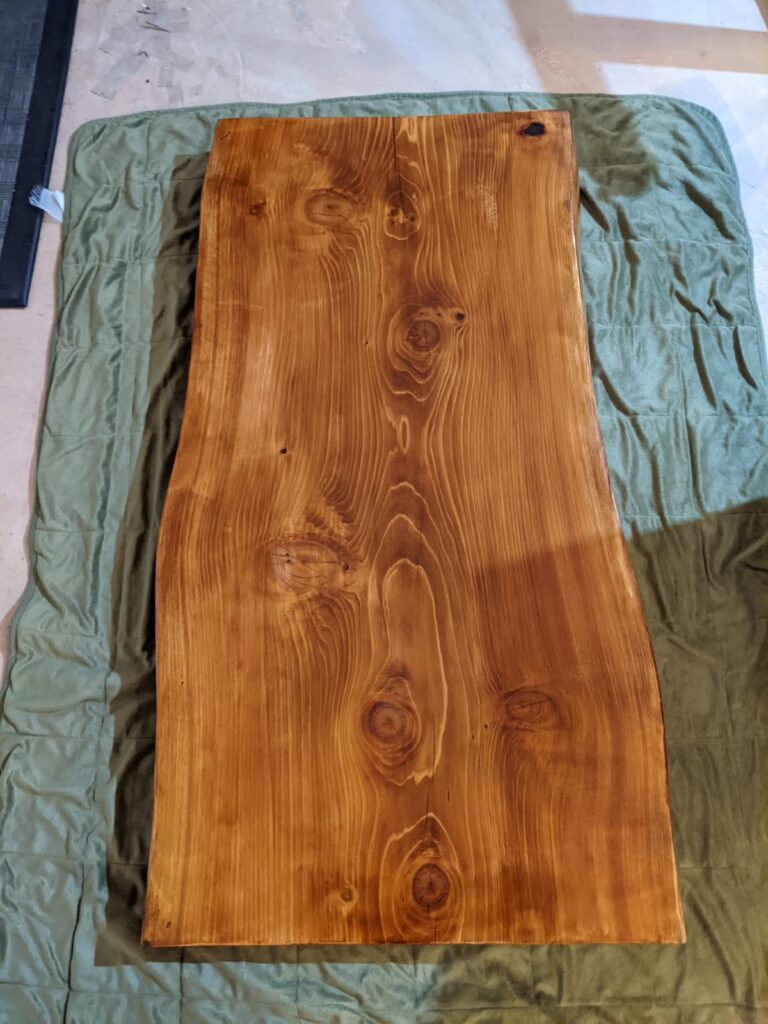
- 2 in 1Behr polyurethane sealer and a brush (this gave us a color and a layer of protection)
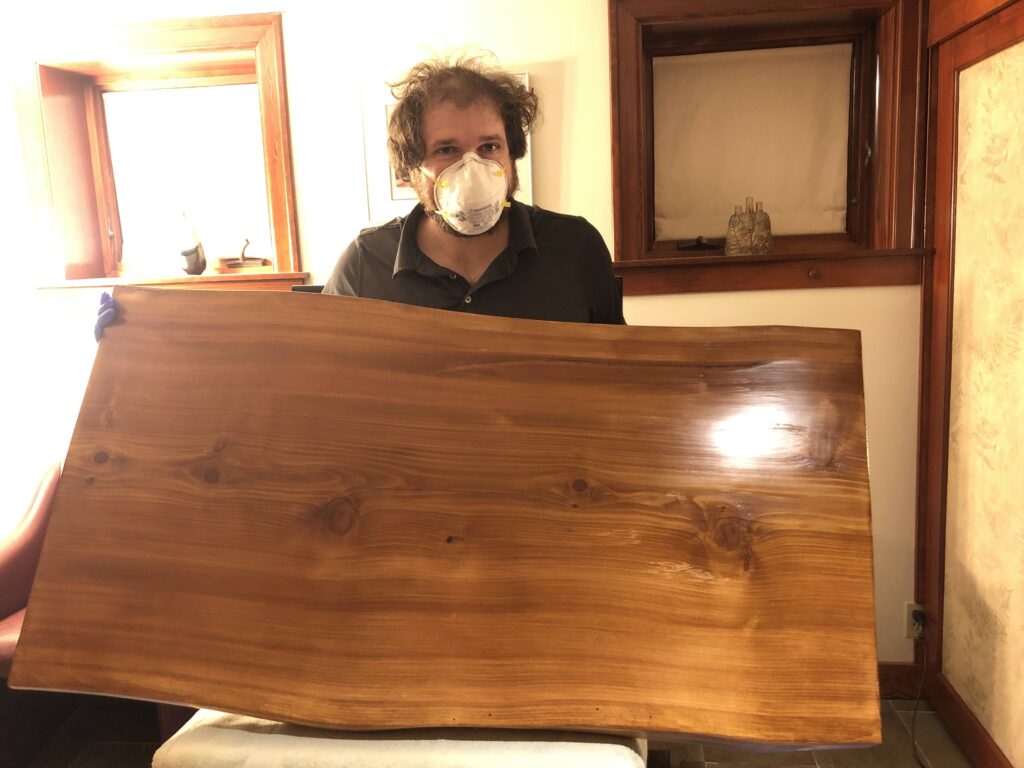
- Gloves/masks/goggles or work in a very well ventilated area (sawdust, resin/paint fumes are toxic)
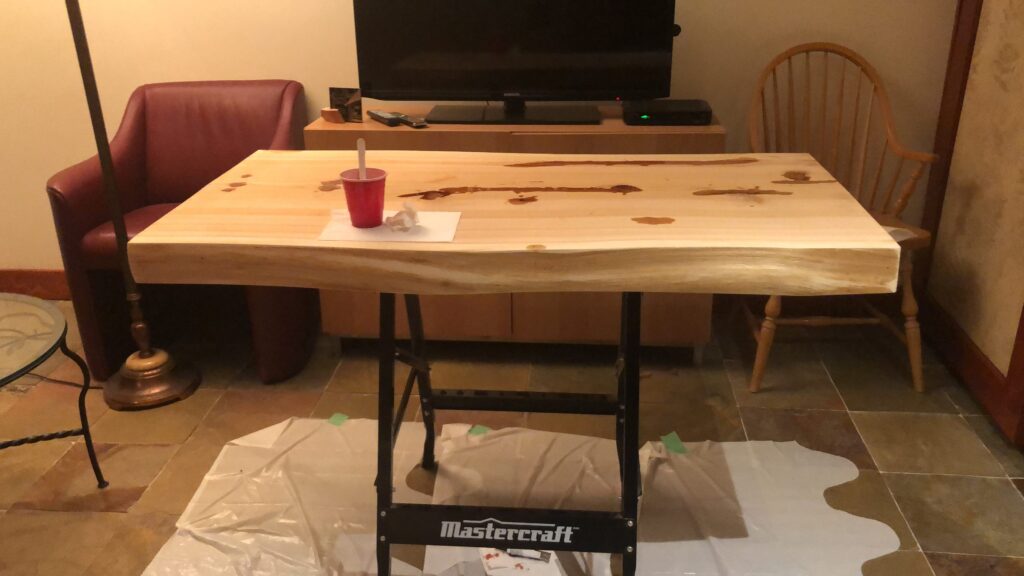
- Large workspace – we used a mini workbench I got off marketplace and put a tarp underneath
Procdure
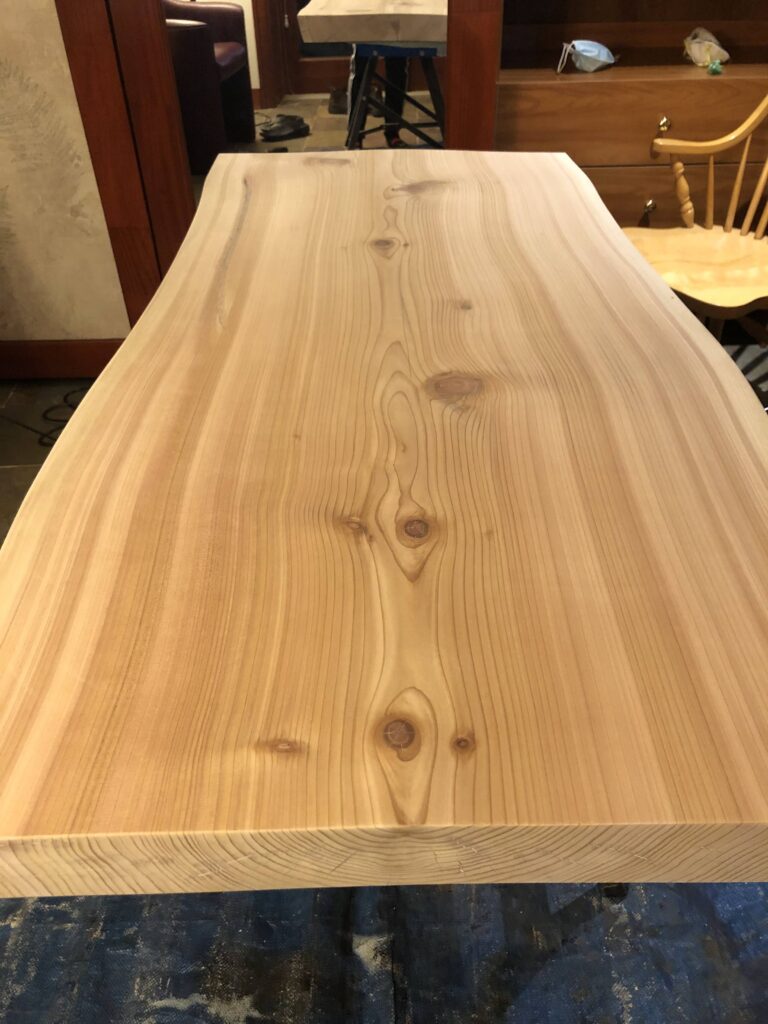
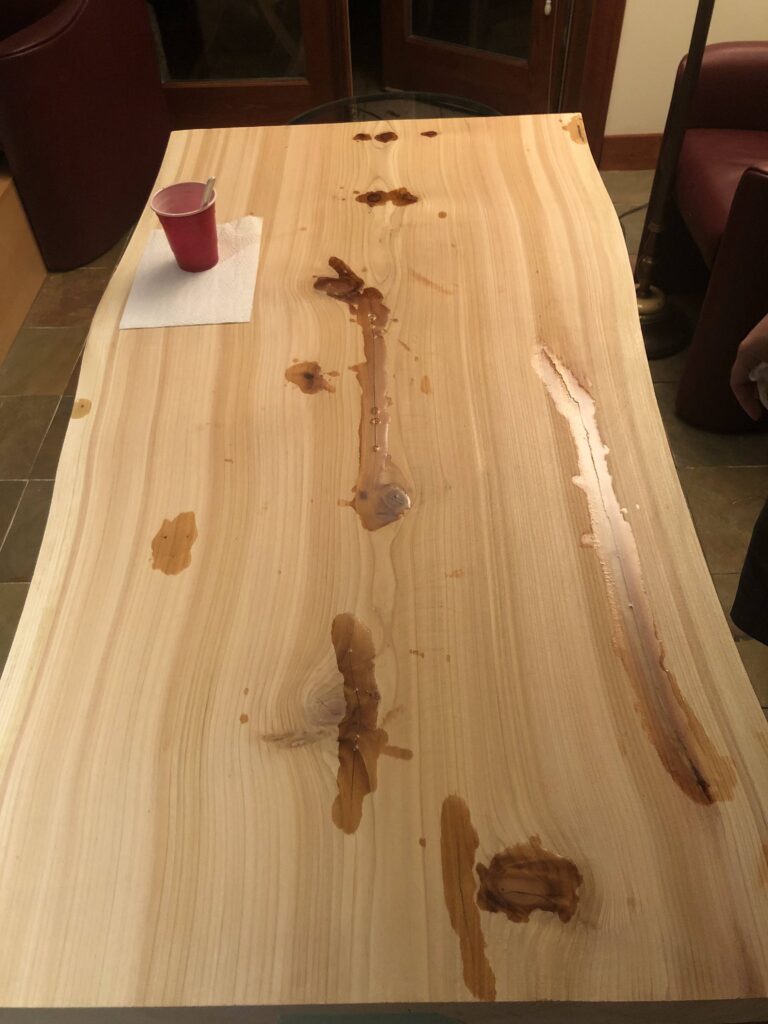
Step 1 : Bring the peice of wood inside for several days to a week. The hummidity and temperature will cause the wood to change shape. Some cracks will form, which we will fill in step 3.
Step 2 : Sand ~ 40 girt sand paper
Step 3: Resin large and small holes, crackles, knots, crevices, all the sides.
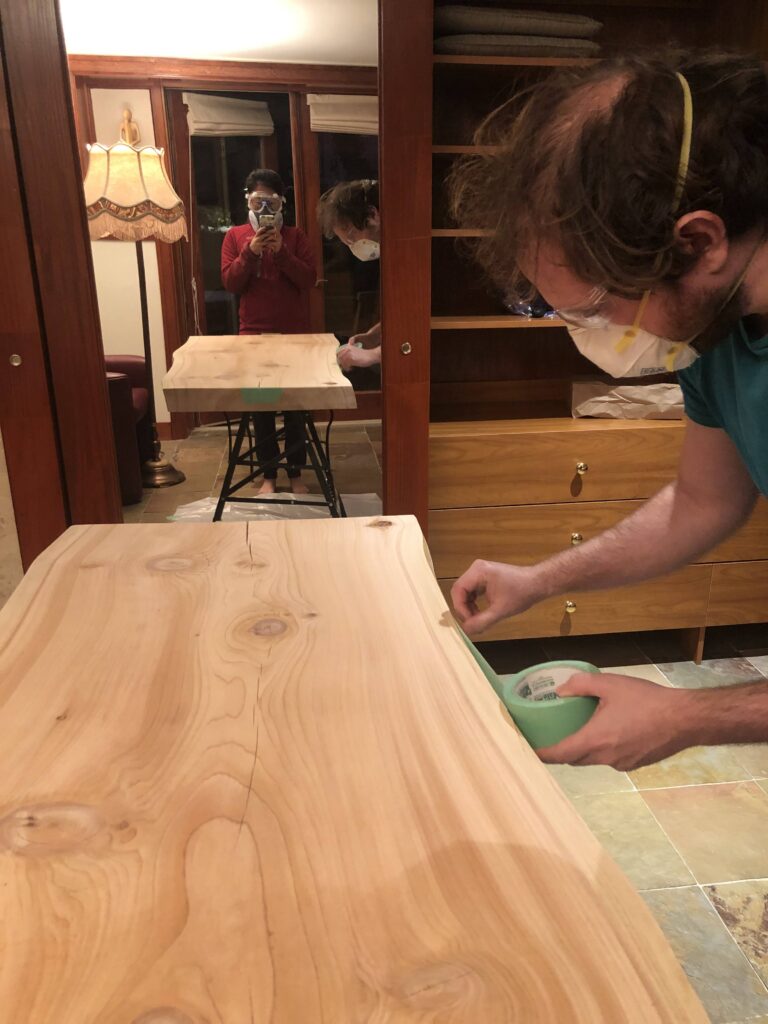
Step 4: Sand, and Sand some more. We used a sand paper pack with different grits (shorturl.at/aozP1). We progressed from 40, 60, 80, 120, 150, and finally finished on 200.
Step 5: Apply finisher.
Resin or Expoxy is optional. Lots of people just sand and apply their finisher.
Step 6: Attach base
Recent Comments